Anyone who's been following me on Facebook or on my Stampin' Up! page will know how much I have fallen in love with Project Life! If you are unfamiliar with Project Life, it's a quick and simple way for people like me....who would love to scrapbook all the years and years and years of photos I have laying around, but just don't quite know how to do it....a way to easily scrapbook vacations, events and everyday life. They have pocketed sleeves in a plastic page protector so that you can simply print out your pictures and slide them in; journal a little blurb about the pictures and you are finished. Here's my latest project (or most of it). This was a trip I took with my family a little over 10 years ago...yeah, I'm *THAT* far behind on my scrapbooking.
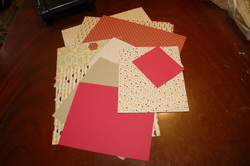
I have so many pieces of left over Designer Series Papers (DSP) that I don't know what to do with. Many of these prints, I bought for a specific card or project, but then I had so much DSP left over that I didn't have a plan for, it just kept piling up and now I have SO MUCH. Now thanks to "Project Life" I actually have a use for ALL of it! (YEAH!!)
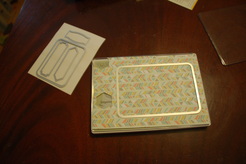
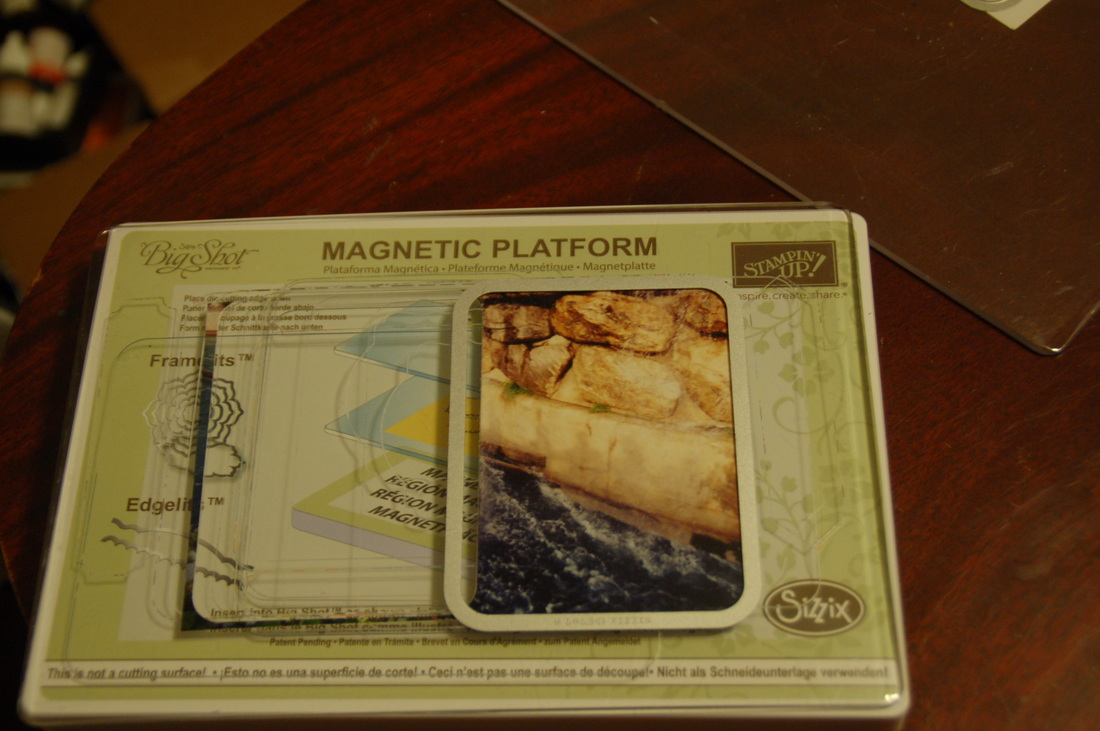
I can even use my small scraps of paper. This is a left over piece of DSP that I used for my Hexagon Plate project. I didn't know quite what to do with these pieces, but I just can't throw away such cute paper. These are the "Project Life" Cards and Labels Framelits" Die. These are used with your Big Shot machine and I officially LOVE them!!! They are so easy to use and fit perfectly into the divided slots of the Project Life Photo Pocket Pages. (Which are available in 12" x 12" or 6" x 8" sizes)
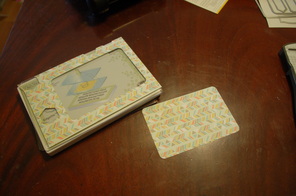
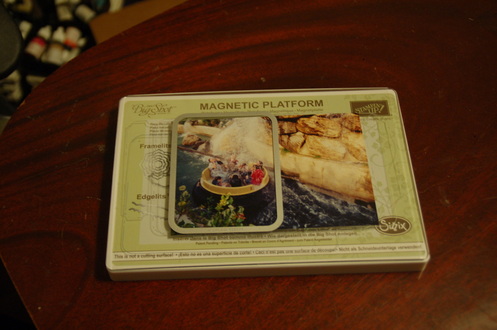
Here's what the piece looks like after you have cut it out. It is so simple to use. I would *HIGHLY* recommend getting the Big Shot Magnetic Platform if you are going to be using these (or any other) framelit dies. When Stampin' Up! came out with this, I'll be honest, I thought it was just one of those things that people buy because it sounds cooler. I used framelits for quite a while before I finally broke down and just bought a Magnetic Platform. I can't believe I made myself suffer for so long without one. On the multipurpose platform (the one that comes with the Big Shot) the framelits tend to slide a little as they run through the Big Shot, which isn't that big of a deal if you are cutting a plain piece of card stock, but if you are wanting the framelit in a specific place on the paper and it slides, it could ruin your entire project. The Multipurpose Platform works well with embossing folders, but if you are using framelits, definitely spend the extra cash and get a magnetic platform.
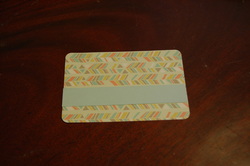
Then, add another strip of scrap paper and you have a piece of your own handmade "Project Life" cards for your scrapbooking. You could spend an afternoon and make a ton of these to have on hand when you need them or you can pull everything out each time. Either way, it takes just a few minutes to cut and adhere everything together to get it completely ready.
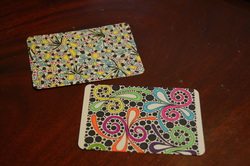
Here's another way that I think is just fabulous to create a truly one-of-a-kind project. These are from "A coloring book for all ages" from RedRae Desings. I bought a bunch of these for my kids and then I found myself using them for me. It doesn't matter how young or old you are, you are never to old for coloring. It is so relaxing and the beautiful designs are already done for you. You can color the same design in so many different ways that it can become perfect for every project. I just took a page from my coloring book and cut it out using the "Cards and Labels Framelits" Die and now I have a completely unique card for my project.
TIPS AND TRICKS
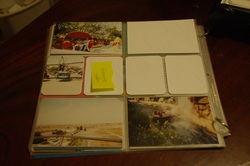
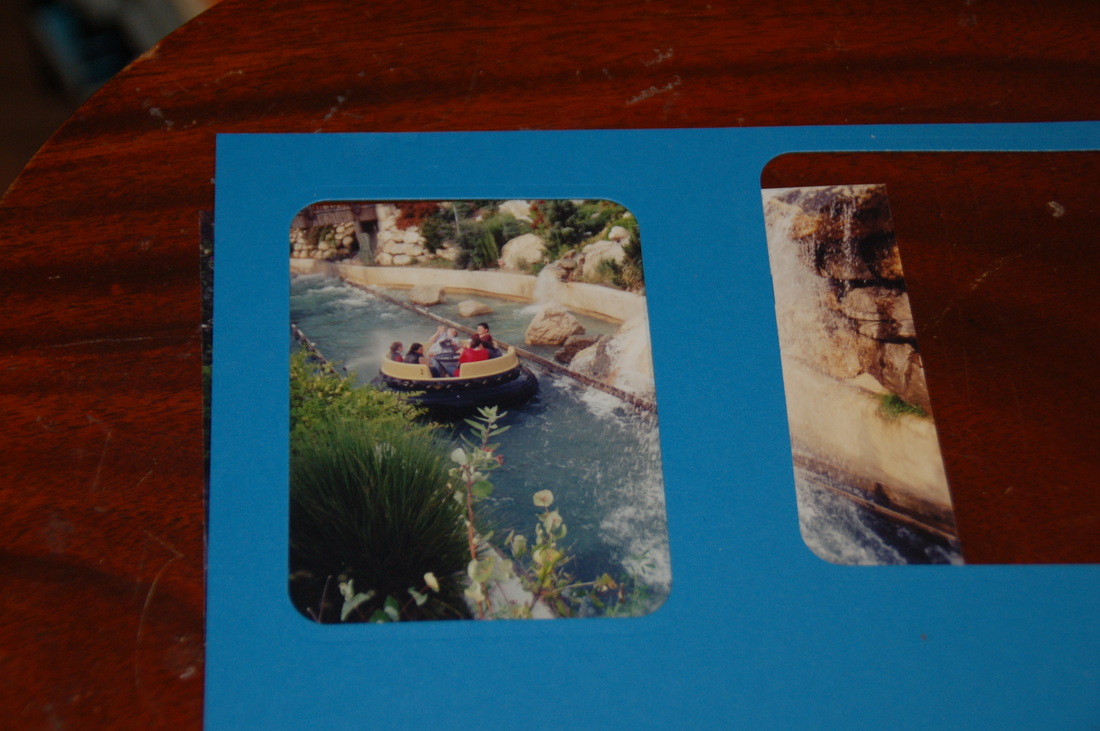
This is the last of my pages...I only had these few photos left that I needed to add to my scrapbook. As you can see, I had a problem...I had one more 4"x6" photo that I wanted to put into the top pocket, but if I did that then I have a whole lot of blank space in the middle here...if I cut it with my "Cards and labels framelit" die, I would have a 4" x 6" spot I needed to fill and I would have 2 blank "journaling" areas in the middle. I tried to envision how it would look, and quite honestly, I didn't like it. So I made got creative.
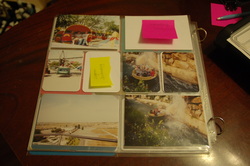
I simply cut my 4" x 6" photo in half and added the 2 halves each into the 3" x 4" pockets. I'm sure you notice that the photo half on the far right really doesn't *need* to be scrapbooked, it was just the wall of rocks, there were no people in that side of the photo, there was no beautiful scenery, it was a piece that could have been cut out. But, don't you think it adds nicely to this particular layout?
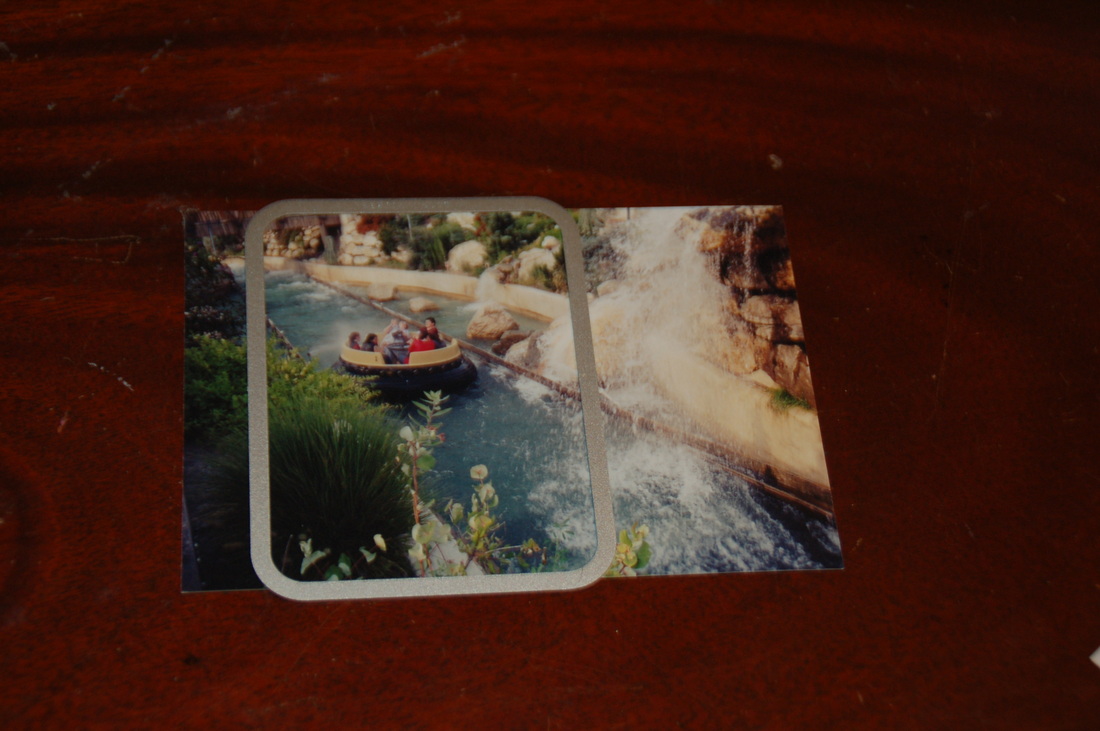
Make sure that if you choose to do this in your layout, that you place your die as close as possible to the edge of the photo. Another option, instead of using the Big Shot for this one, you could simply cut the photo in half using your Stampin' Trimmer and then round the corners using the Project Life Corner Rounder Punch
As you can see, the photo is just a bit smaller than the die. In this instance, place the die on the edge of the photo so you can get the rounded edges, then you can use your scissors to round the edges of the other corners.
| One more quick tip. I have noticed that when trying to decide where, exactly, I want to place my die to cut my photos, I have a very hard time blocking out the rest of the photo that will be cut off. I don't want to be disappointed when I cut my photo because you just can't "un-cut" photos. |
I started taking a scrap piece of paper and cutting out whichever size card I am planning on cutting. I then place the paper over top of my photo so that it blocks out the "excess" of the photo for me so I can EXACTLY where I want to place it.
Feel free to "like" my page Stampin' 1-2-3
Visit my Stampin' Up! website
Feel free to "like" my page Stampin' 1-2-3
Visit my Stampin' Up! website
 RSS Feed
