As promised. Here is the other part that came with my Paper Pumpkin Kit this month. The treat boxes are adorable!
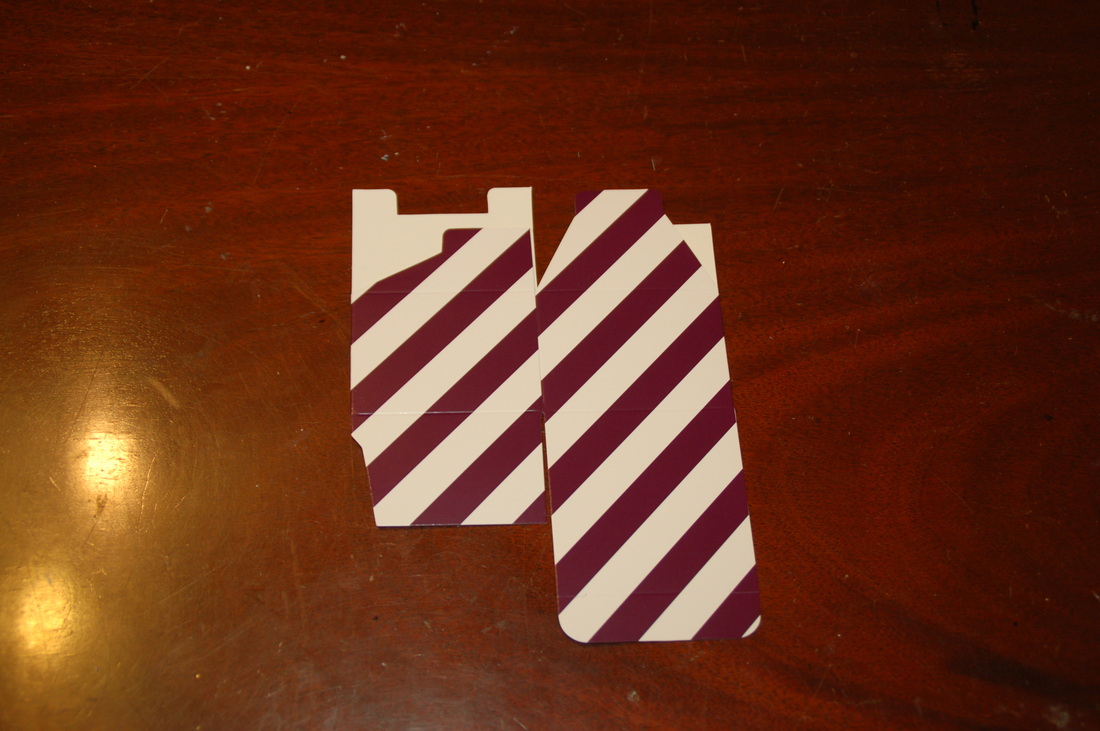
This is what the box looks like as it comes out of the red Paper Pumpkin box. If you look closely you can see that it has already been pre-cut and pre-scored...all you have to do is fold it.
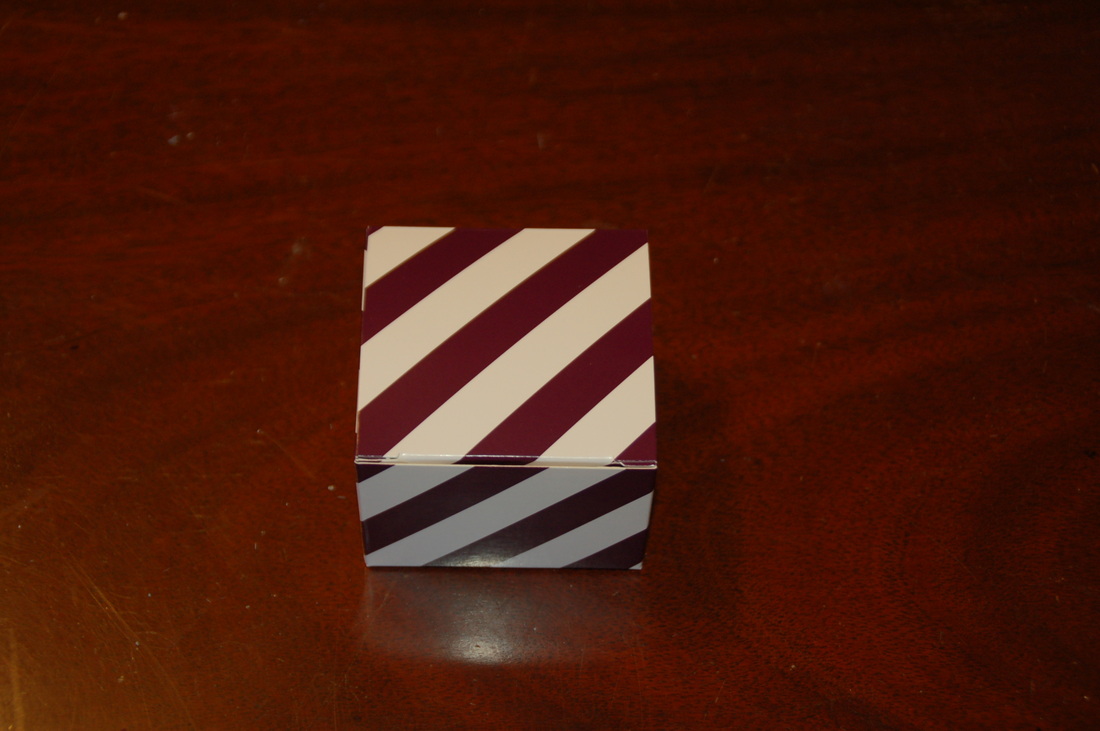
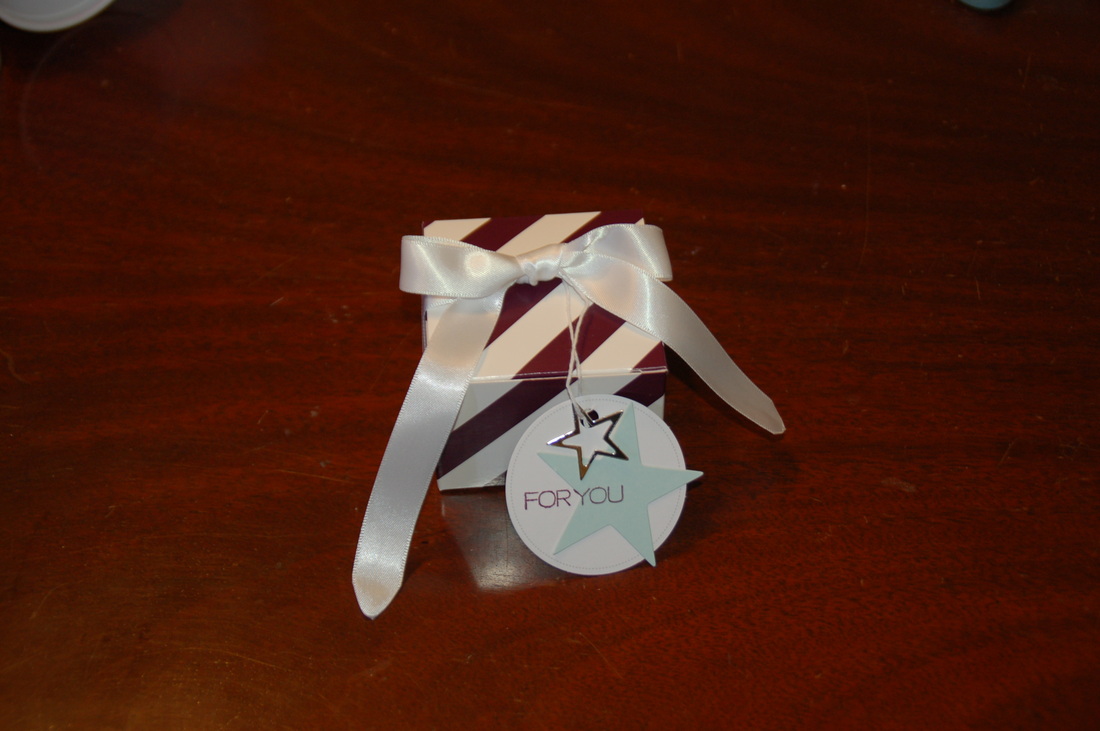
This is what the box looks like after you've put it together (it took all of 5 seconds).
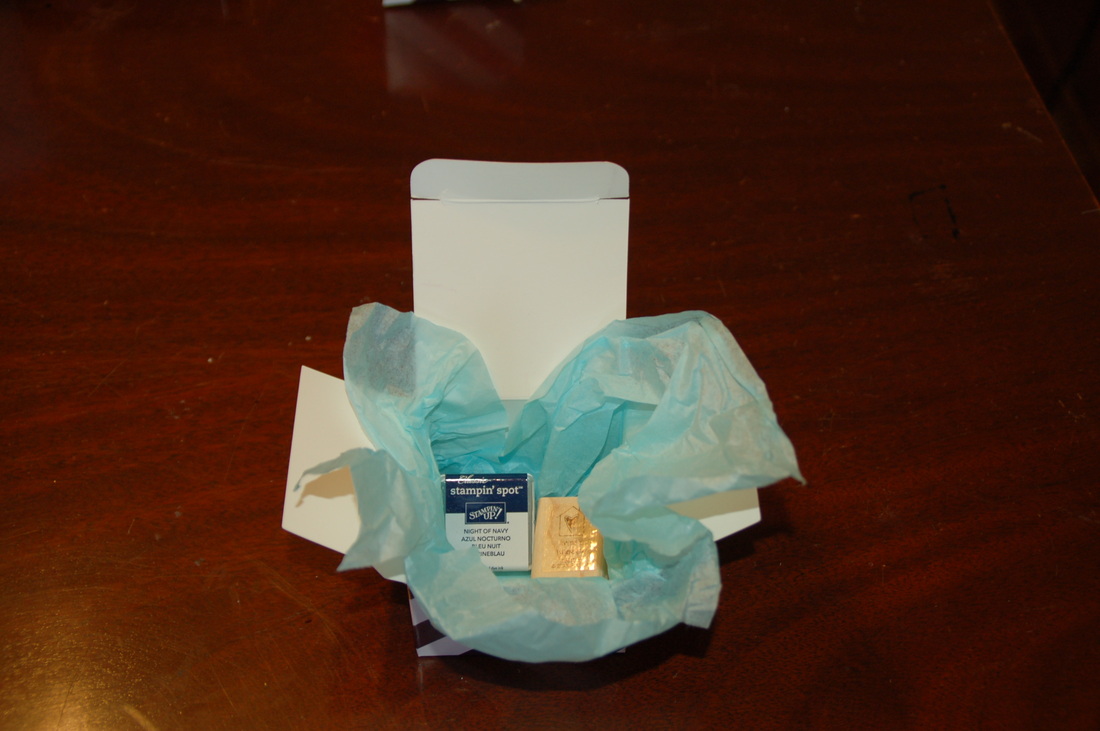
I love how My Paper Pumpkin Kit comes wrapped in tissue paper every month. It feels like opening a wonderful gift every time, it can also be used in your project. I took the tissue paper my kit came wrapped in and cut it to the size I wanted and used that to decorate the inside of my box. Then I added the gifts, and closed the box.
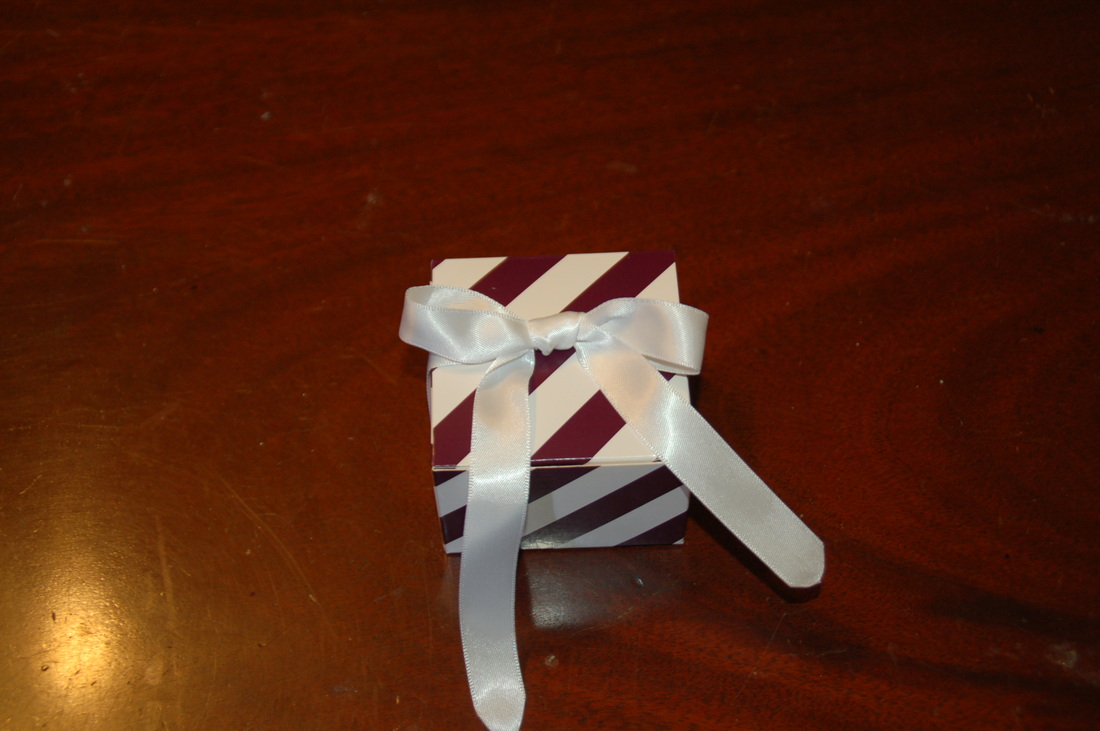
Then add ribbon. Another thing I absolutely love about My Paper Pumpkin is that you don't have to guess how much ribbon or twine (or whatever the project calls for) you need. It tells you right in the directions how much you need and they make sure that you have plenty to use...I almost always have left-overs that I can use for other crafting projects.
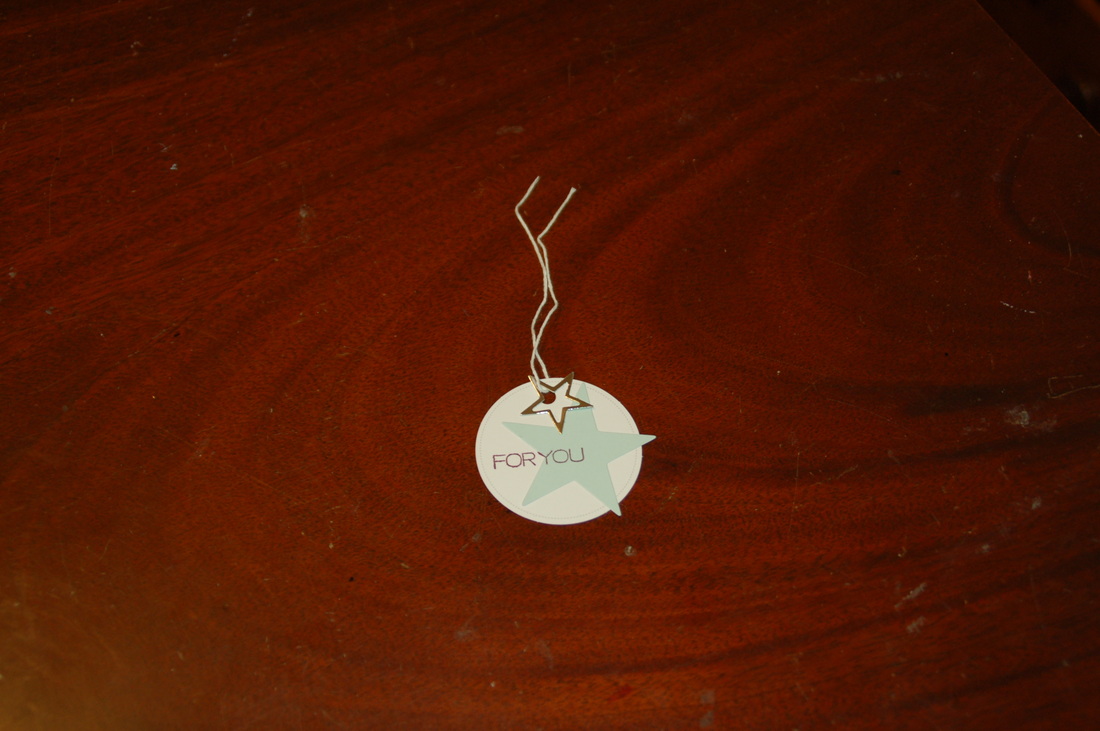
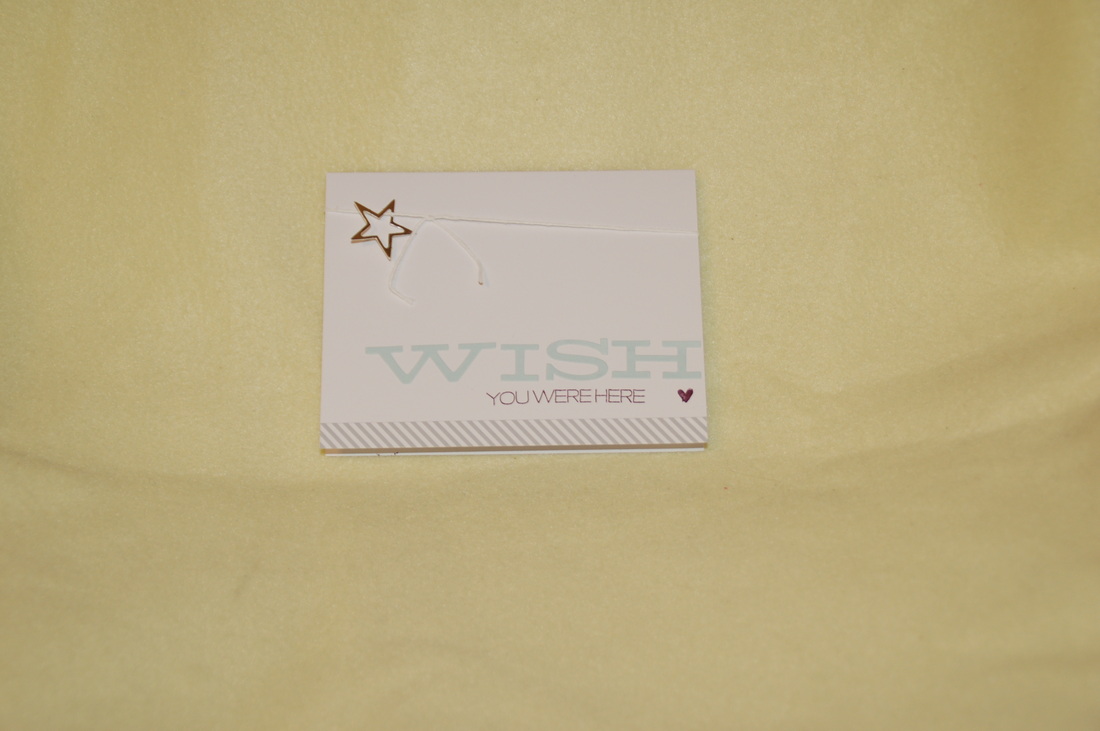
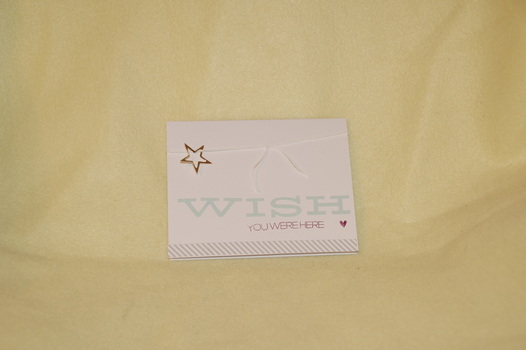
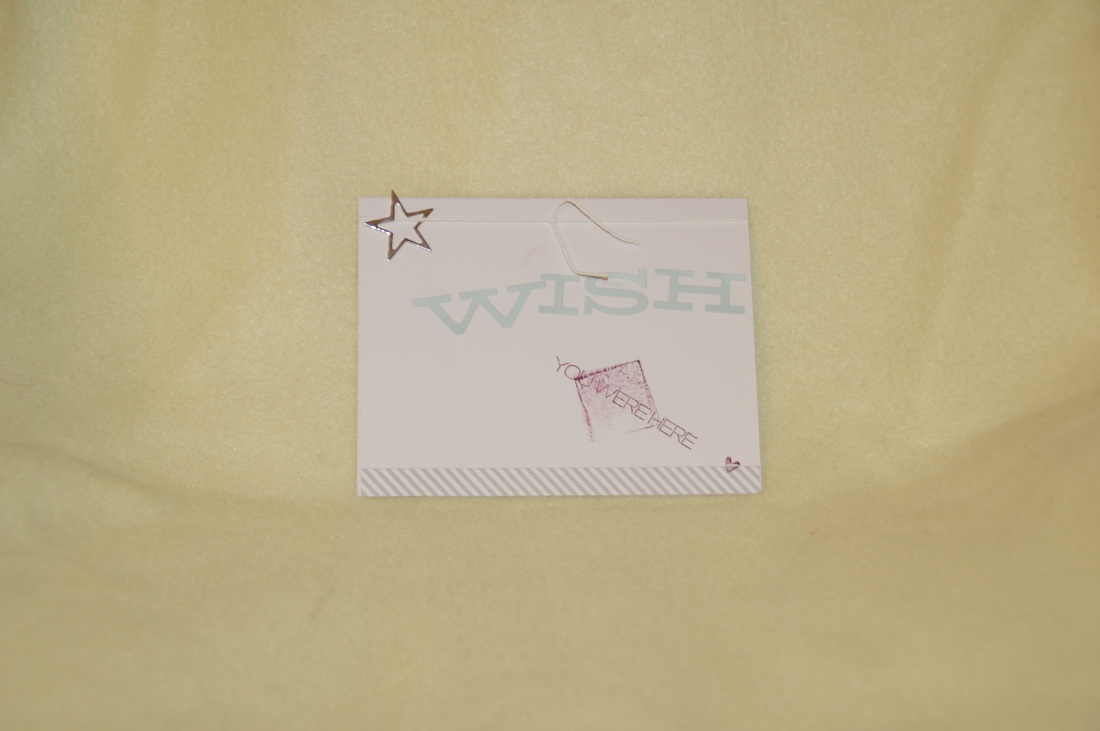
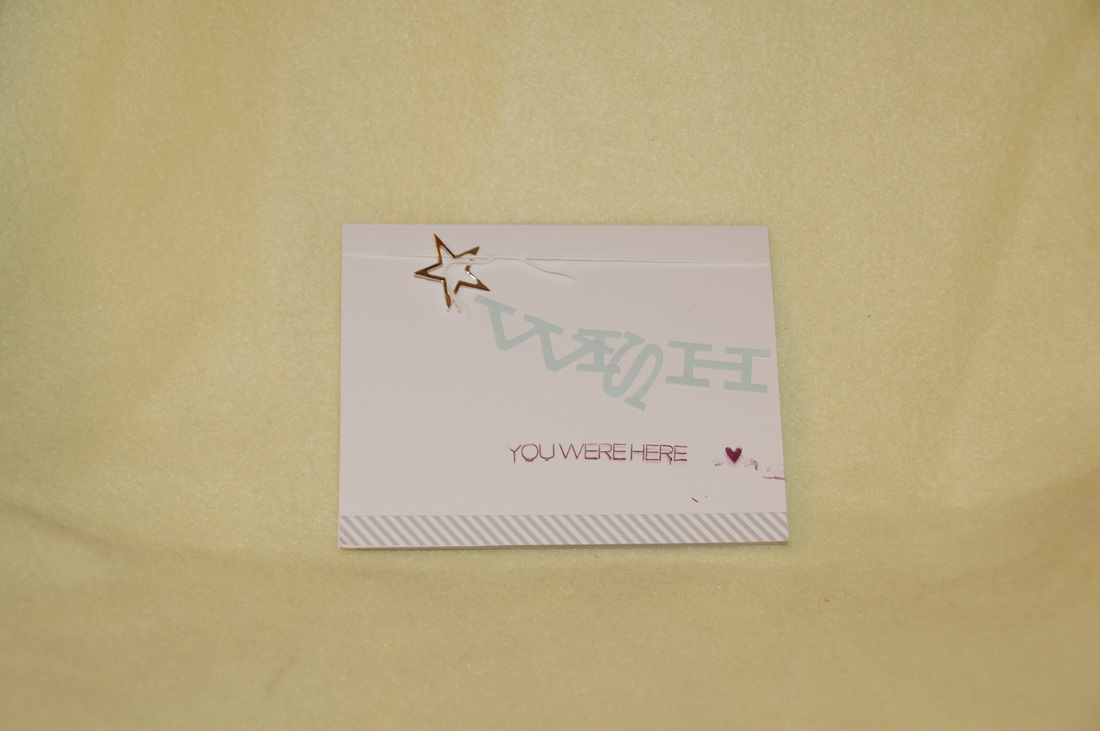
Choose a sticker to add to your tag (they had heart and star stickers to choose from, I chose the star for this one). Stamp you choice of wording on the tag with the included ink spot. Put a piece of twine through the hole at the top of your tag and add the silver star on top of your tag through the twine.
Tie the tag through the ribbon, and you are DONE!
All the projects you see on this page are made using the Paper Pumpkin Kit , these stamp sets are not available anywhere else. If you see a kit you just LOVED, Paper Pumpkin Subscribers also have another perk of being able to purchase past kits (if you are not a subscriber, you cannot purchase these kits).

 RSS Feed
